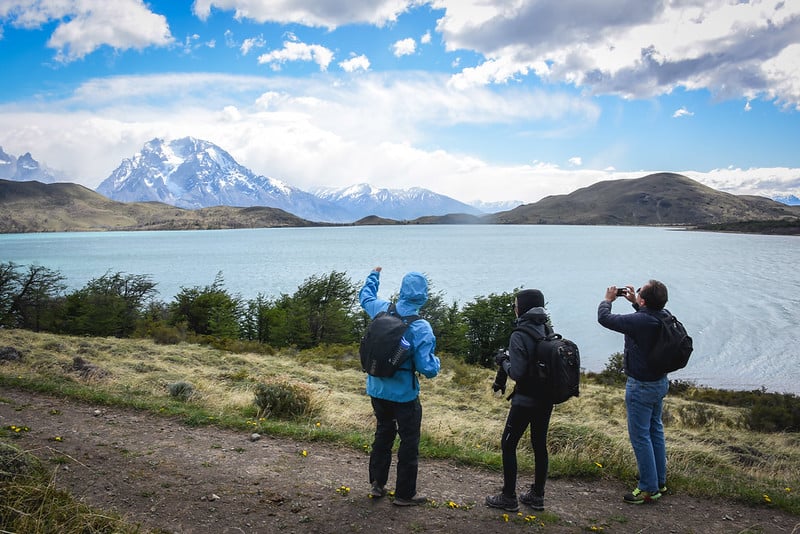
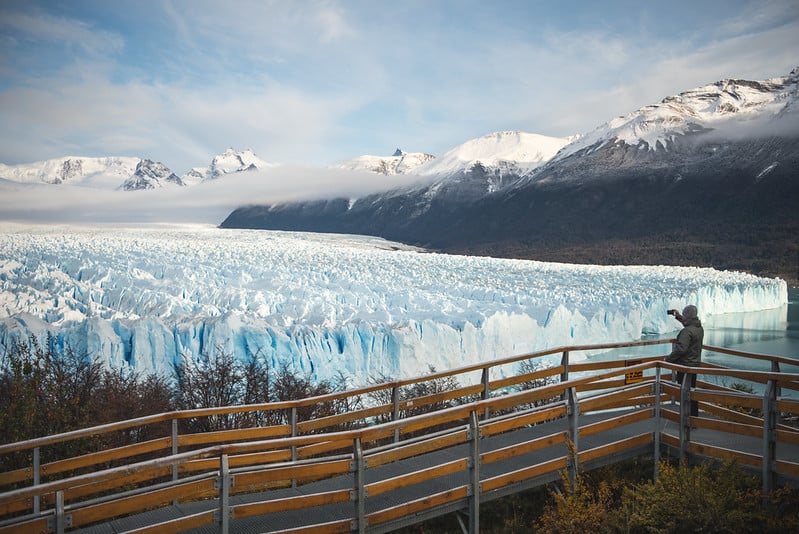
Here at Cascada Expediciones, we recognize the prevalence of phones and how that plays into modern travel. Many of our guests take travel photos with a phone and they want those beautiful, high-quality images to post on social media, share with family or to have just as a memorable keepsake. But good looking photos don’t appear by merely pushing a button. To take great travel photos with your phone, you need to learn a little about phone photography and how to improve your skills and techniques.
It may sound daunting, but surely not impossible. To help you out, our resident and award-winning photographer Timothy Dhalleine shares some of the best tips and tricks to turn your average phone photos into incredible phone photos. Dhalleine has more than ten years of photography experience and roughly six years working with Cascada Expediciones and our partner EcoCamp Patagonia. Here’s his expert advice:
As a professional photographer, do you think it is possible to get great, professional-looking photos with just the average cell phone camera?
Dhalleine: Phone brands have been doing an incredible job within the last few years to improve the technology of the cameras. With an increased resolution (12MP is the norm but you can find resolution of up to 108MP, which is pretty astonishing), improved digital zoom and great aperture (f/1.8 is the norm), phone cameras are like having a more-than-decent DSLR camera with three lenses in your pocket. Furthermore some pro edition apps are available on the phones, including my all-time favorite Adobe Lightroom. So yes, you can get professional-looking photos with an average cell phone camera today.
What is your number one piece of advice for taking a good photo with a phone?
Dhalleine: Just like with any other camera, my number one piece of advice would be to move yourself while taking pictures. If you want to take good photos, it’s not enough to find epic landscapes or beautiful animals. You need to find your best angle to get that unique picture and to do so, it’s necessary to walk, bend down, etc. After all, photography is a sport, even with a phone!
What are common mistakes people make when taking a photo with a phone?
Dhalleine: The most common mistake is that some people tend to zoom in a lot to focus on a particular part of a landscape, which causes a loss of quality due to the artificial crop and allows less flexibility when it comes to editing. Also, some people only take vertical shots. Even though it creates more engagement on social media, I recommend taking a good amount of horizontal photos. It usually looks more professional if you want to use it for something more than just social media.
How can someone take a close up photo and avoid it looking blurry or pixelated?
Dhalleine: In 2020, most phone cameras do a great job when it comes to portrait and landscape photography. However the biggest downside is that the optical zoom in today’s phones is still not great. I mean, it’s great if you take into account the size of the phone, but such technology is actually complex and expensive and for some reason wildlife photography requires good and expensive gear, which you won’t get with a phone camera. And zooming in with your phone will obviously create blurry/pixelated images, because the technology is not there (yet). Manufacturers know that and some brands artificially improve the digital zoom while including a software that adds extra in-between pixels to maintain the resolution, but quality still takes a hit. My recommendation is that if you really want to get good results while zooming, you should buy an extra periscope-style lens that will allow you to get a zoom of up to 5 times with no loss of quality. It won’t only improve your magnification of the pictures, it will also improve your portrait shots with blurred backdrops.
Is there any setting someone should change on the phone to get better photos?
Dhalleine: The newest phones include a “professional” mode that allows you to set up your pictures manually. Just like with professional photography, you can set up the ISO, aperture and shutter speed to get the results you want. That makes a huge difference when you want to catch the best light, and improve the quality of the shots with a lower ISO (less grain) or with more light when you take pictures in the dark. You’ll even be able to capture the milky way! You can also download “Bacon Camera,” an app that allows you to take complete freedom over your pictures’ settings - you’ll even be able to shoot in RAW so you can edit all the details.
Do you suggest using any filter on pictures? Or a specific editing app for adjusting photos afterward?
Dhalleine: I always recommend to take the pictures with no filers and to edit afterwards. My favorite apps are Snapseed and Adobe Lightroom. No specific “filter” recommended: find your own style while playing with the settings, but be careful not to “overplay” with them (I personally don’t like over-edited pictures, but it’s a matter of taste).
What are common mistakes people make when editing photos? How can someone make the colors pop and the image look polished, without it looking fake or over-edited.
Dhalleine: As I said before, lots of people over-edit the pictures. A common mistake is to use an intrusive filter or to play with the colors and contrasts too much. If you want to edit your shots, I recommend investing in a good app to go into the details. For example, when I edit with Adobe Lightroom, I barely play with the contrast or saturation. Instead I play a bit with almost everything else, like clarity, highlights, shadows and white balance, so you won’t lose what makes your photos natural. But you are the artist, and every artist has his/her own taste!
Do you recommend getting any add-on gadgets to use with the phone?
I consider a tripod sacred. You can buy a small travel tripod, so you can get long exposure shots or play with the timer. It’s cheap and it makes a huge difference!
What is a good way to practice travel photography or get prepared before a trip? Are there any exercises, online resources, etc?
Dhalleine: Before traveling, I recommend you educate yourself on the destination. It’s important to have some general information on the main spots for great photography and to have a general idea of the sunrise, sunset, the moon, etc. To do so my favorite resource is Photopills, a cheap app that will provide you with all the information for an improved photography experience in the place you’re traveling to - both before the trip and while you’re there. You can do some fantastic night photography scheduling with that app!
Do you have anything else to add?
Dhalleine: Just like with DSLR photography, there is no “best phone for photography.” It’s true some brands do a better job, but what will make the greatest difference is you. Just be yourself, everyone is unique and what matters the most is that you like what you do. Have fun!
Liked this Post? Pin it for Later
With these tips in mind, you can get ready to take some great travel photos with your phone on your next adventure. Get in touch with our Sales Team today at reservations@cascada.travel , to learn more about our awesome travel programs for photographers and how you can start exploring. Also follow us on Instagram or share this post on Pinterest.